This section is taken from a working system running Windows 7 Professional SP1 with UPDD v4.01.10 (v4.1.10) in Jan 2015.
Overview of suggestions for Whisker:
| • | Until UPDD is working properly, and communicating with your touchscreen, it WON'T work properly with Whisker. |
| • | You'll know that UPDD is working when you can (a) calibrate, and (b) use the UPDD "Show test screen" to draw on the correct screen with your finger. The mouse pointer may move at the same time, but that's OK; Whisker will prevent that when it is properly configured. |
| • | Only then run and configure Whisker. Ensure that Whisker's server event log indicates that it's communicating with UPDD. Ensure that your touchscreen appears in Whisker's Configure → Touchscreens list. Ensure that you point it to the correct display. Then turn on a Whisker test display and ensure that "touch down", "touch move", and "touch up" messages appear when you touch (not "mouse down", "mouse move", and "mouse up" messages). Don't enable any of Whisker's "mouse pretends to be a touchscreen" options at this point, or things will get confusing. |
| • | Also beware the halfway-house situation where your UPDD touchscreen is pretending to be the system mouse (as it readily does), and you've configured Whisker to respond to mouse input rather than properly configuring its touchscreens. Then Whisker will appear to "half work", but the mouse pointer will keep jumping all over the place. When Whisker is talking to UPDD properly and has control of its touchscreens, the system mouse pointer is entirely unaffected by touchscreen touches. |
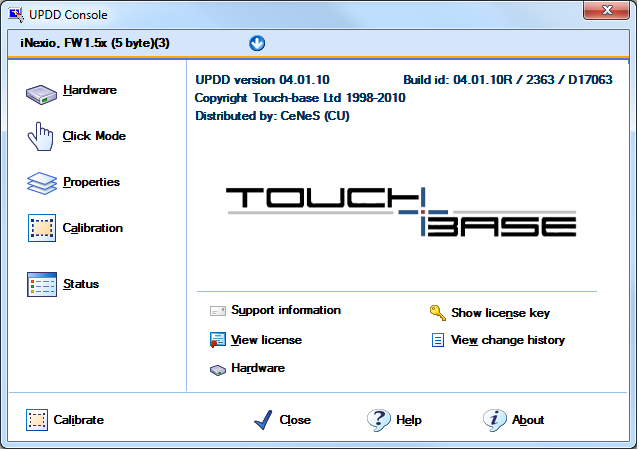
Begin by choosing Start → All Programs → UPDD → Settings. All of UPDD can be controlled from this panel.
When you click About, you see this:
When UPDD Settings launches, it starts at the following screen. You can add and remove devices here.
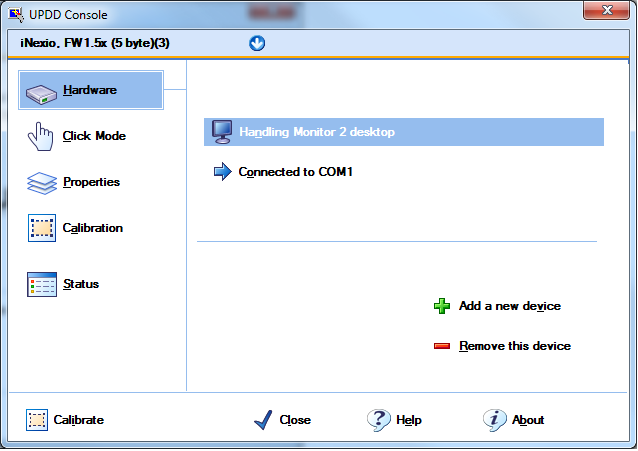
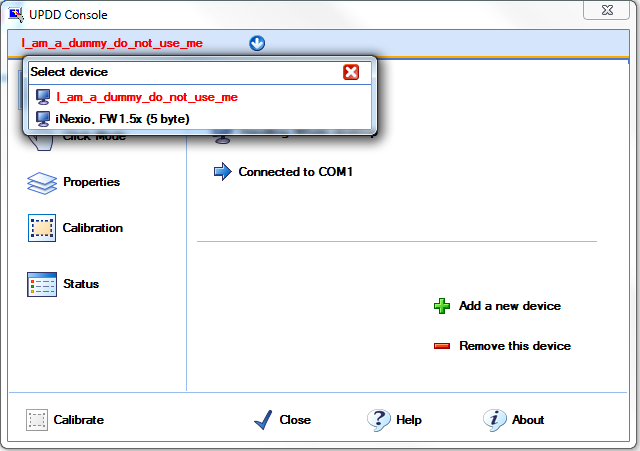
Be extremely careful if you have >1 touchscreen, or have created >1 UPDD device! At the top left, the touchscreen name is shown. Ensure you're configuring the right one!
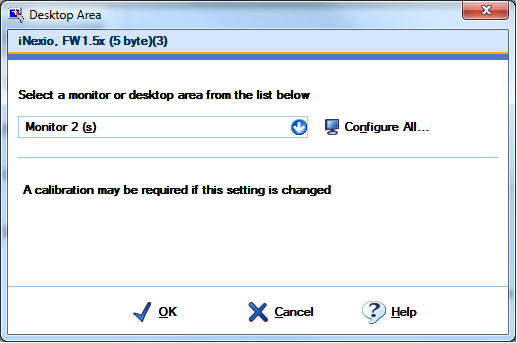
From the Hardware screen, you can configure the monitor:
... and the COM port settings:
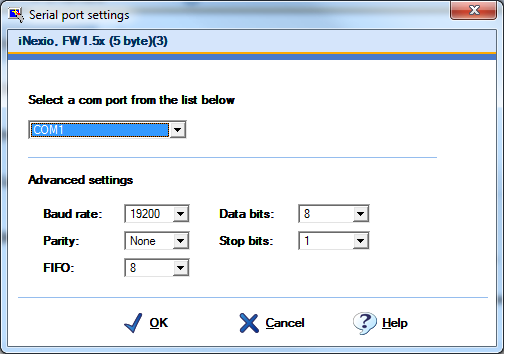
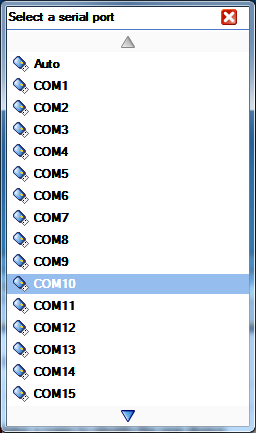
Beware: when you choose the COM port, UPDD will offer you a great many. In this case, the computer only had COM1, but UPDD still offered everything from COM1 to COM50:
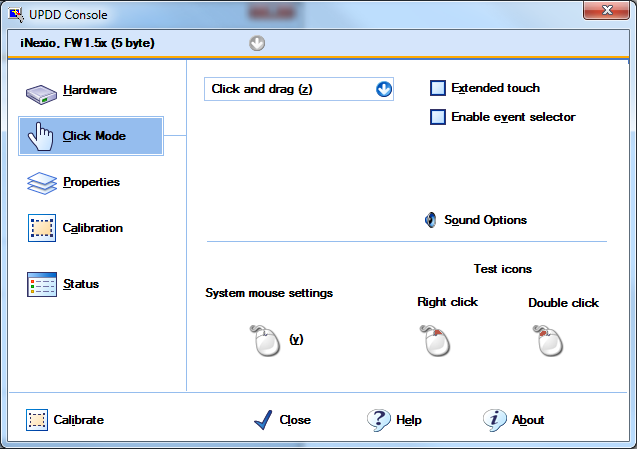
The Click Mode should have "Extended touch" disabled for non-primary monitors (according to the UPDD help), and should probably be set to "Click and drag":
The Properties page:
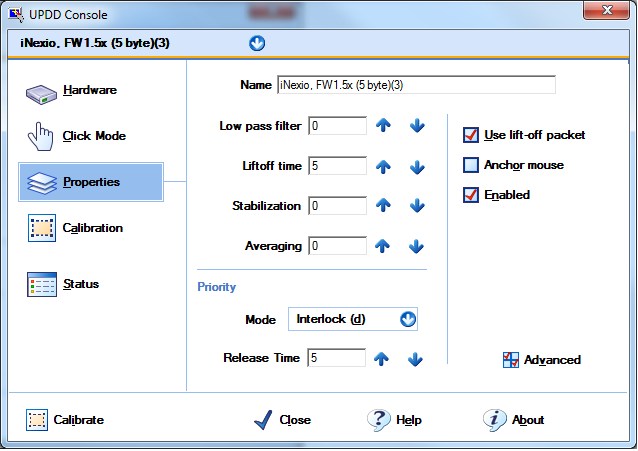
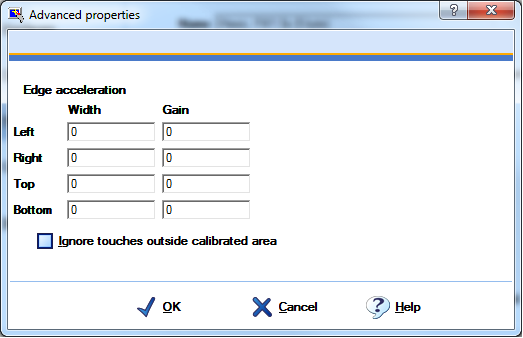
... and advanced properties (you might want to untick "Ignore touches outside calibrated area").
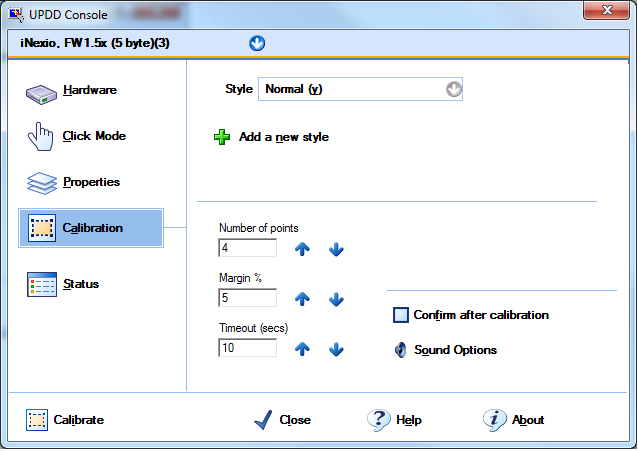
The Calibration screen configures the calibration process. To calibrate, just click the "Calibrate" button at the bottom left; a new window will pop up for calibration (and you may have to close it yourself afterwards).
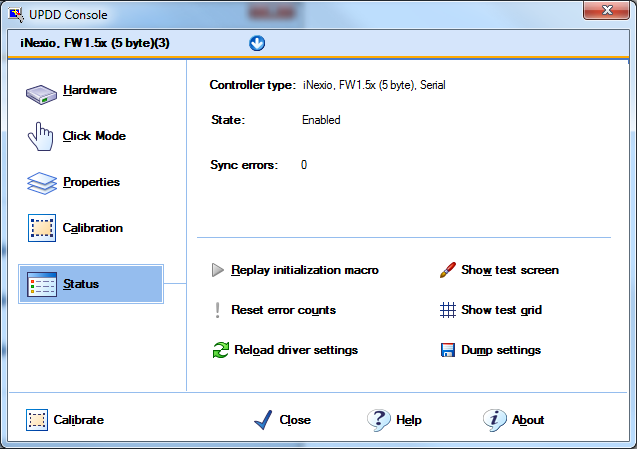
The final page shows the device's status, and has the helpful options to Show test screen (and Show test grid).
For more detail on the various UPDD settings, see documentation for older UPDD versions.