Editing the library
Every visual object (picture) used by RatBat lives in the visual object library and has a unique name associated with it.

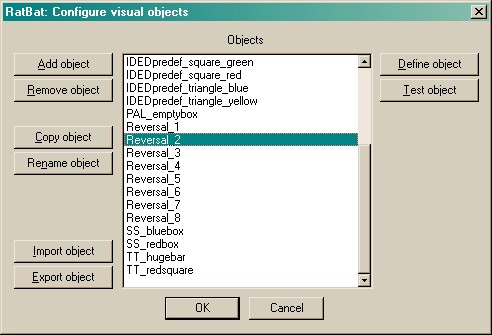
| • | You can add and remove objects from the list - though you cannot remove an object that is being used by one of your tasks. You can make a copy of an object and you can rename objects. If you rename an object, all references to it by other tasks in your task list will be amended accordingly. |
| • | Click Define object to configure the object itself. |
| • | If you are already connected to a Whisker server, you may click Test object, and the object will be displayed in a new window (a "virtual device window") on the server's desktop for you to inspect it. |
| • | Click OK to accept your changes, or Cancel to abort. |
| • | Sometimes (as shown above) when you select an object, a message appears saying "WARNING: This object has no touchable components." In this case, the object will not respond to being touched, so you are probably best avoiding it in all your tasks until you have added a component to it that is touchable (see below)! |
| • | You may import and export objects from other configuration files. You may find it convenient to keep one configuration file as a master object library (for example, you could give it a dummy subject name and not use it to run tasks). If you design a handy object for one subject, you could export it to the library. When you create a new configuration file, you can either load one that's quite similar and save it under a new name, or start from scratch and import objects from your library. Click Import and Export to import/export objects. You will be asked to choose the configuration file for import/export, and then to choose the objects to copy across. When importing, you can select multiple objects (click on several objects). If objects with the same name exist in the file you are importing into (or exporting to), the objects will be renamed upon arrival. |
A sample object library is supplied with RatBat. It's called RatBat_TestConfig_And_SampleObjectLibrary.xml.
Editing individual objects
When you use your new object in a RatBat task, the task may place your object anywhere on the screen. Each task defines certain locations that it uses (for example, the ThreeChoice task displays them in one of three locations in a horizontal line in the middle of the screen). The task's locations are defined as rectangles. The tasks automatically try to centre your objects in these rectangles. (Some objects, like text, give them more difficulty!) This centring system relies on you basing the top-left corner of your objects at the point (0,0). If you don't, your objects will be offset in the tasks.
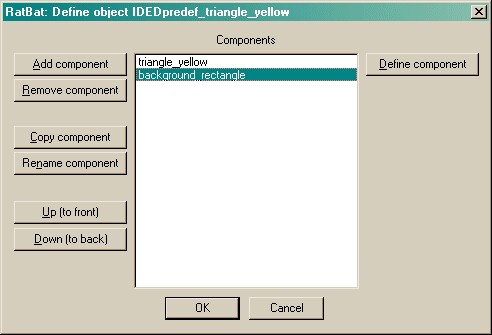
When you clicked Define in the dialogue box above, you can define components of one particular object in the dialogue box shown below.

Here we are defining the object called "IDEDpredef_triangle_yellow", and at present it has two components, named "triangle_yellow" and "background_rectangle". The objects are in a stack: "triangle_yellow" is at the top of the stack, so it will be the object in front of all the others. "Background_rectangle" is at the bottom of the pile.
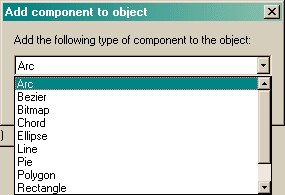
| • | Click Add or Remove to add/remove components from the list. When you click Add, you will be offered a choice of the various types of component that are available, and then be asked to give your new component a name. (Note that two components can't have the same name.) |

| • | Click Copy or Rename to copy or rename a component. (Note that two components can't have the same name.) |
| • | Click Up or Down to move components up or down the stack. |
| • | Click Define to specify a component's details. |